Displays are constantly being developed with higher resolutions and larger screen sizes. The complexity of modern displays makes measuring the components a challenge. Intricate features of a display can be measured using microscopy, however microscopy techniques are often limited to smaller sample sizes. Peak Metrology offers larger positioning tables and stages to support large area microscopy which enables entire displays to be measured without having to destructively analyze them.
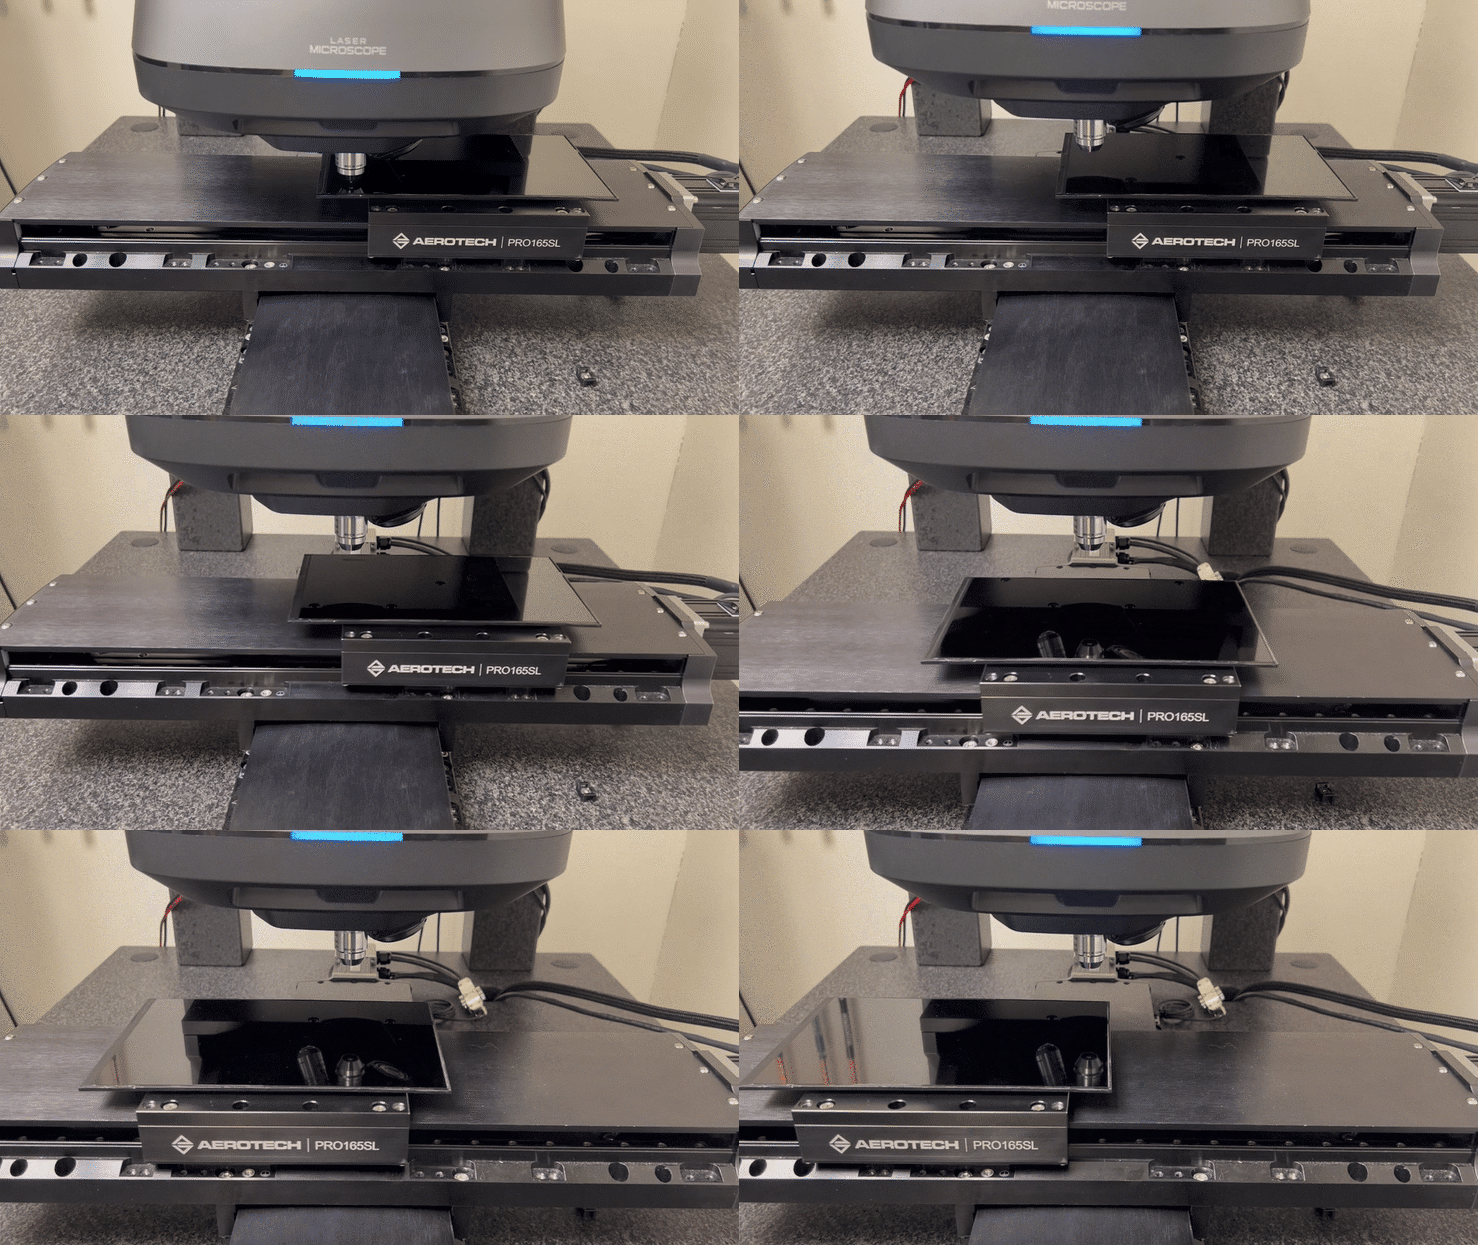
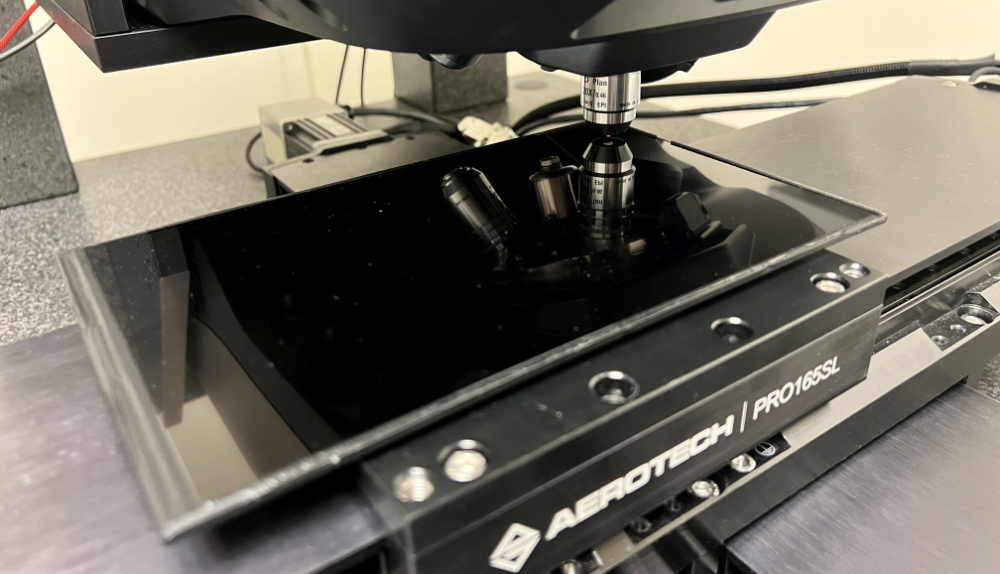
Showing a tablet display underneath a high resolution laser scanning microscope from Keyence. The display glass is moved by a larger scale motorized stage in order to position the entire screen area within reach of the microscope’s objective lens.
What makes a display?
Liquid crystal displays (LCDs) and light-emitting diode (LED) displays are made up of multiple layers of materials and components that create the images we see. We used a Keyence VK-X laser confocal microscope to inspect and measure various dimensional properties of these layers.
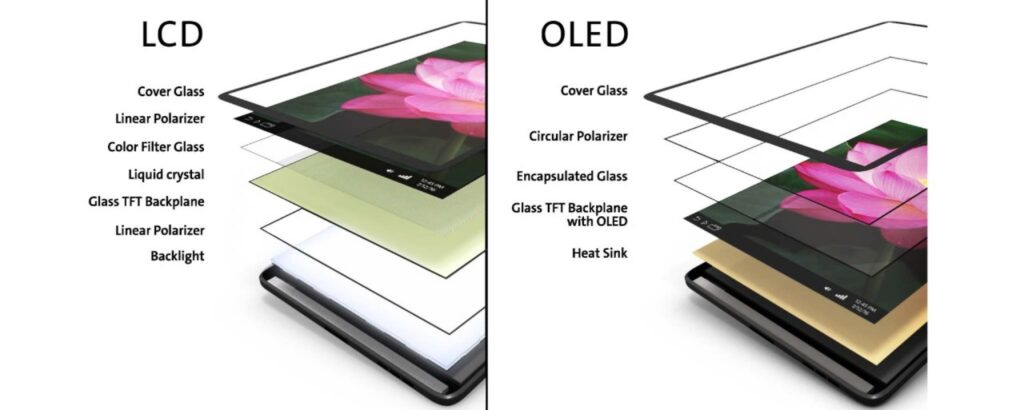
Image: LCD and OLED Layers. Source: Corning
Visually inspect LCD/LED panels for defects
In some cases it may not be possible or feasible to inspect individual layers before assembly, or to disassemble parts after assembly for inspection purposes. With the VK-X microscope it is possible to take measurements of the LED panel or LCD color filter through the cover glass. Measuring through the cover glass or transparent film layers to inspect the parts underneath is limited by the thickness of the transparent layers and the working distance of the lens. Below are some examples of display images taken with the confocal microscope.
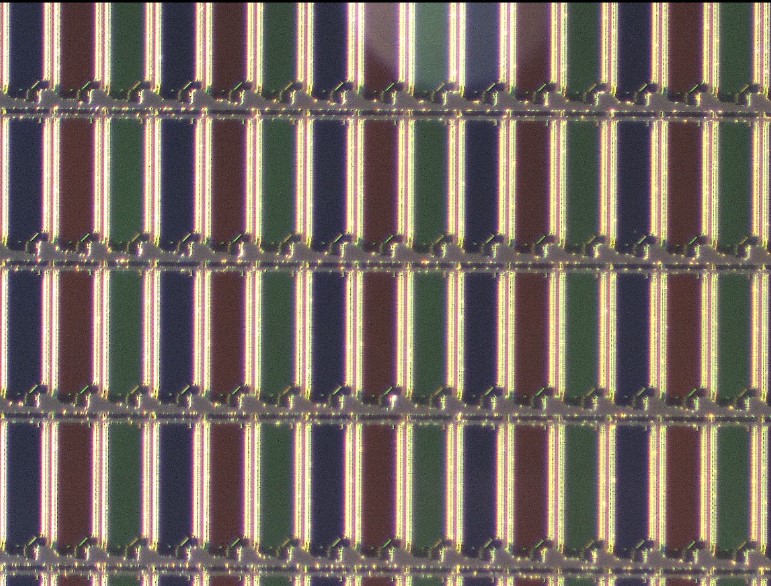
Image: Optical image of LCD panel . Taken with a VK-X3000 and a 10x lens, higher magnification possible – image taken with ring light for better color details
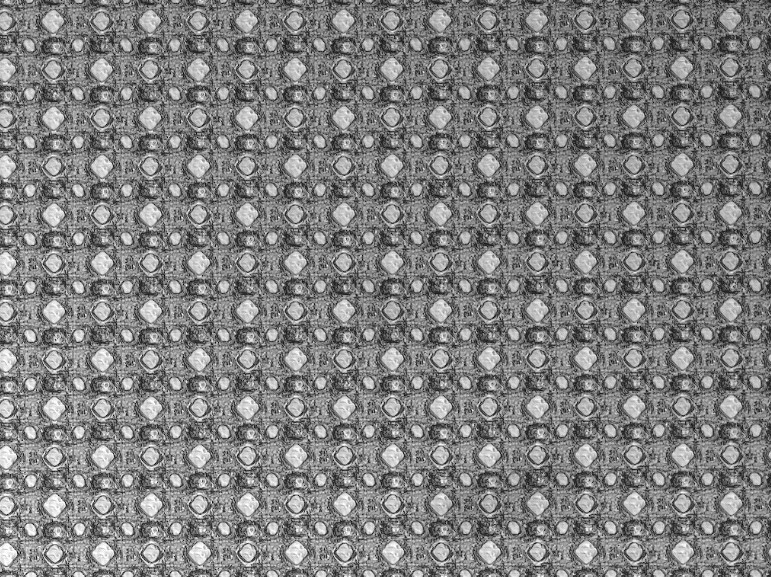
Image: Laser image of smartphone active-matrix organic light-emitting diode (AMOLED) panel, Taken with a VK-X3000 microscope and 20x EPI lens
Make measurements over the full display area
Dimensional Measurements
One common specification of LCD and LED screens is the display resolution, either as the number of pixels along both the width and height of the screen or the number of pixels per inch (PPI), which is the linear pixel density of the screen. In order to calculate these values, we need to know the dot pitch (or pixel pitch), which is the center-to-center distance between pixels. Dimensional measurements such as this can be made using a high resolution microscope.
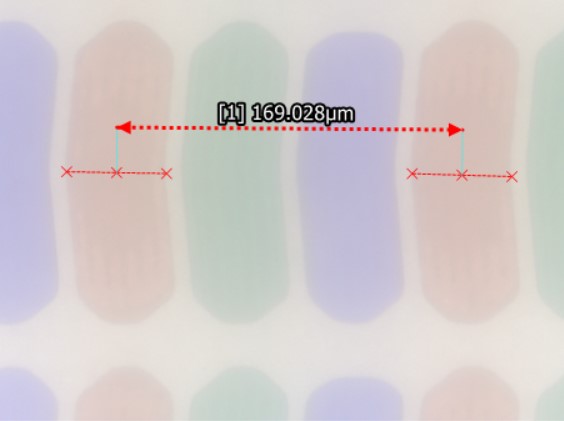
Image: LCD tablet RGB color filter with dot pitch measurement, Taken with a VK-X3000 microscope and 50x EPI lens
Surface flatness and Roughness Measurements
The characteristics of the cover glass are important in smartphone and tablet touch screens as it is the part that the user interacts with the most. The surface flatness and roughness can impact the user experience by affecting the optical quality of the screen and the feel as the user’s finger moves across the screen. The glass should also be free of defects that could affect the image quality as well as the durability of the glass.

Image: Cover glass images and surface roughness measurements (profile or area roughness measurements are available).
Thickness Measurements
Microscopes such as the Keyence VK-X3000 have the capability to measure through transparent materials using the laser film thickness measurement mode. It detects surfaces by measuring the intensity of the reflected laser light. This can be used to measure the thickness of the glass and film layers used to make up an LCD or LED screen.
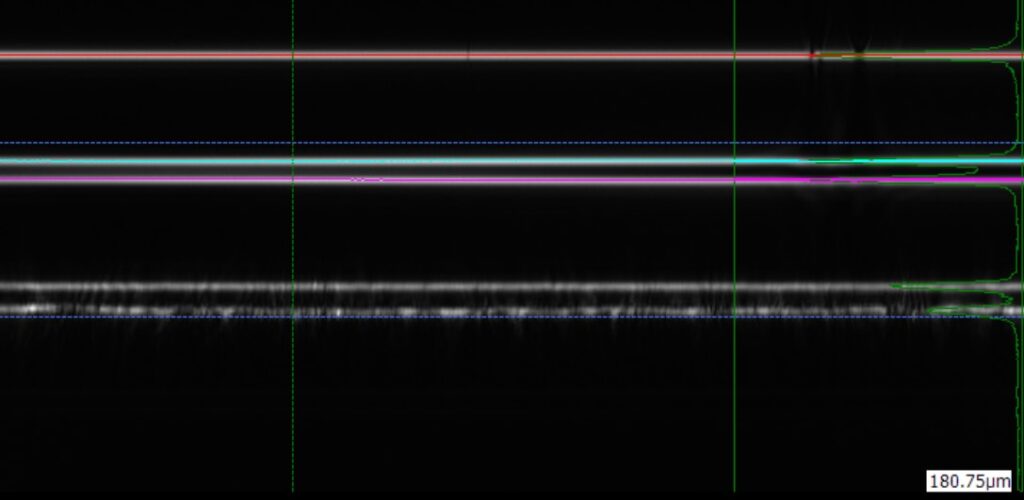
Image: Film thickness preview showing multiple layers on the display.
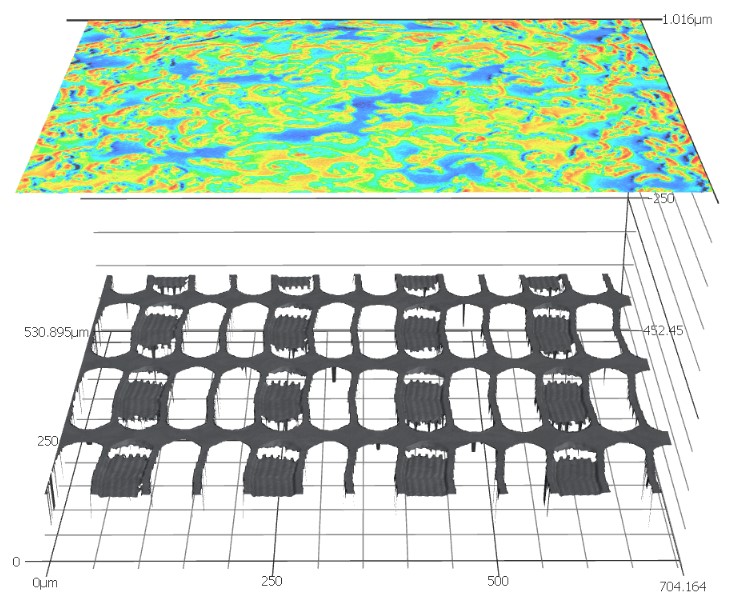
Image: Tablet front glass and RGB color filter of LCD tablet taken as part of the same measurement. Image taken with a VK-X3000 20x EPI lens.
Measure Large Panel Displays
With the current advancements in micro LED technology, the need for nanometer resolution combined with large format stages is more apparent than ever. Peak Metrology uses highly repeatable stages with up to meters in travel which can allow entire displays to be inspected and measured without the need to disassemble or destroy parts in the process.
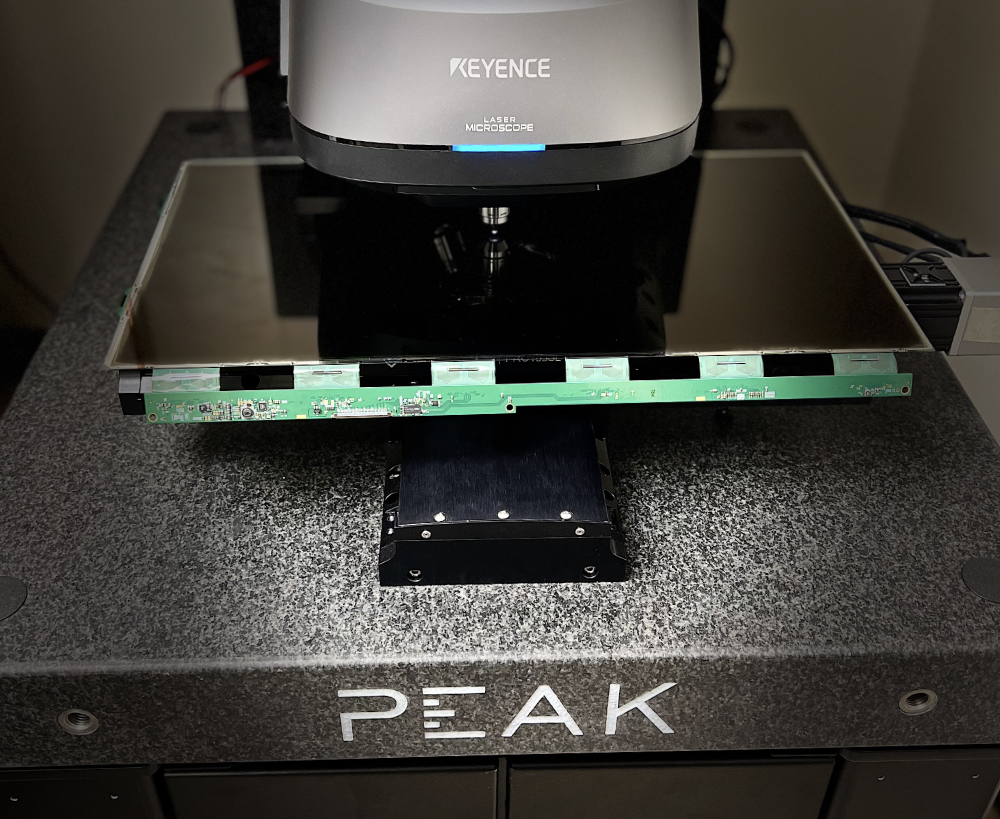
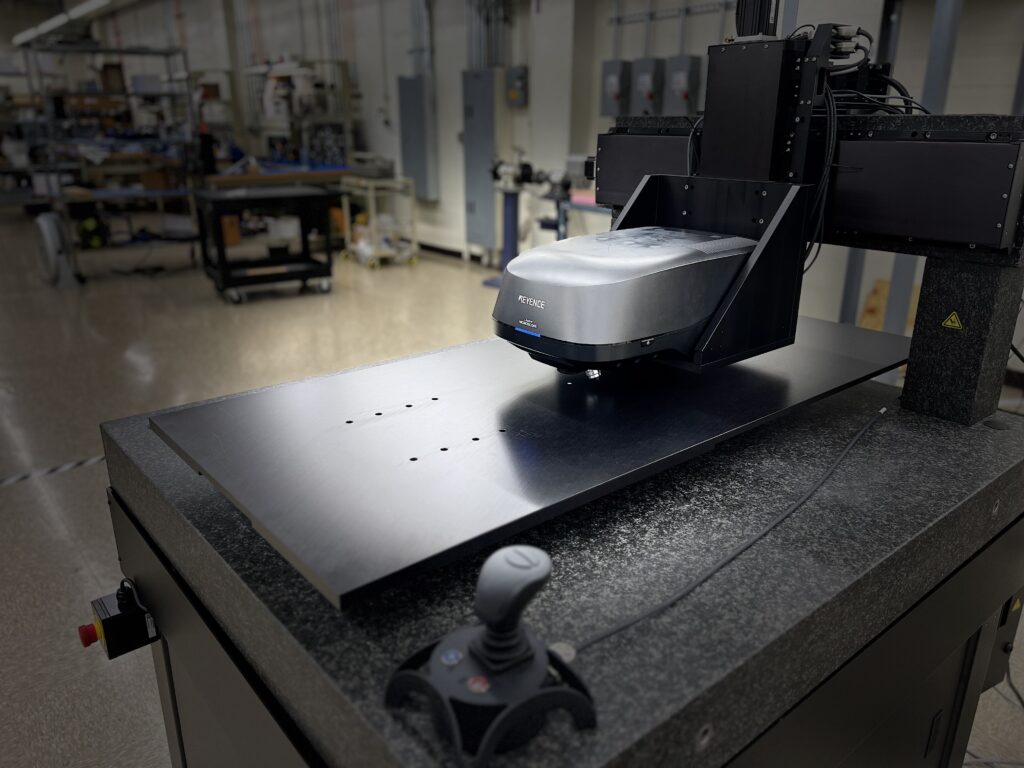
In summary, microscopic measurements are possible on large display surfaces. Mounting a microscope to a Peak Metrology positioning system will extend the usable measurement range of the microscope.
For more guidance and consultation on selecting the right positioning system for your microscopy application reach out to us.