Larger travel stages from Peak Metrology maintains measurement repeatability
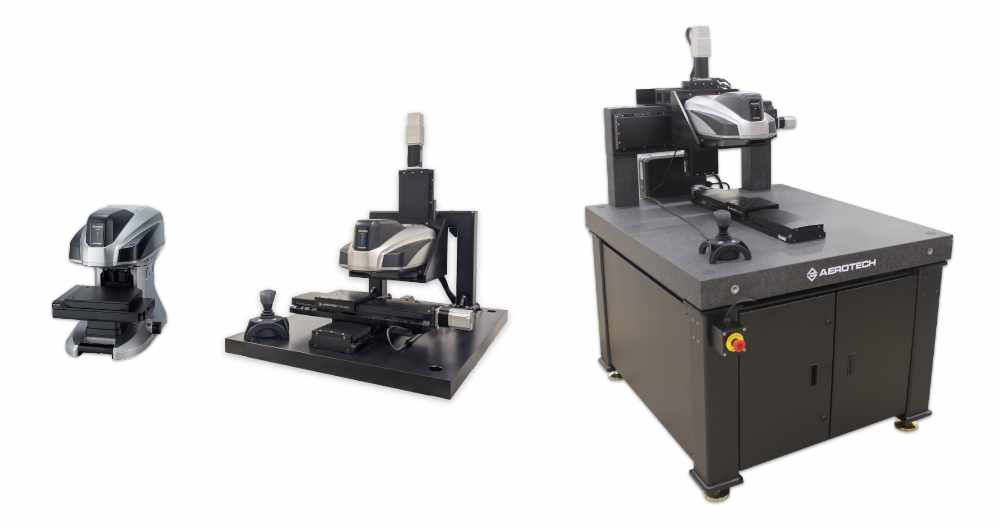
Often, larger travel stages are needed to expand the measurement volume of VR Optical Profilers from Keyence. These measurement heads have smaller, high-precision individual fields of view, but come with software capable of stitching these smaller areas together. Overlapping data regions are used to combine the individual field of view measurements together. Measurement tools are then applied to the stitched measurement data. Also, these measurement heads are designed to be removed from the standard smaller travel stages and mounted onto larger stage platforms.
However, there are valid concerns when removing the measurement head from the factory supplied stage base from Keyence. Will the measurement data be as repeatable when using the larger travel stages? This study compares the measurement results taken between a smaller Keyence stage and two larger stages from Peak Metrology.

Why stage motion has an impact on repeatability
The two main reasons stage motion impacts repeatability is stage accuracy and vibration control. A sufficiently high stage accuracy is required to get within the overlap region the VR measurement software requires to seamlessly stitch individual measurement areas together. If the stage positioning is not precise enough the part being measurement will not be presented to the microscope in a way that allows for the image stitching algorithm to make the seams between areas practically nonexitent. Both the Keyence stages and Peak Metrology stages have sufficient accuracy to position the part being measured within the overlap zone required for a successful stitching process.
Stage-induced vibration and stage dampened vibration are also important to the overall repeatability of the measurement process. If there are external vibrations present they will show up in the measurement data at some level. Keyence’s standard stage offering is non-vibration inducing and allows for the measurement performance specifications to be met. This is the same for Peak Metrology stages. Further, Peak Metrology stages are mechanically larger, stiffer, and more vibration-isolating. This means that external vibrations from sources like nearby machinery will not impact the measurement as much. For example, a heavy metal plate is typically used for the mid-size travel stage and a granite base is used for the longer travel stages. As expected, the use of granite is better and will show improved repeatability results due to its dampening characteristics created by the heavy mass. Foreshadowing, the results below show better repeatability for the larger stage on granite as it was the only stage tested on a granite base. The Keyence stage and smaller Peak Metrology stages can also be used on a granite base to limit disturbances.
Results
The results below show that using a larger travel Peak Metrology stage instead of the smaller Keyence stage will not degrade the repeatability of the VR measurement head itself. These results specifically show the use case of using larger travel stages to perform the measurement stitching moves in-between the smaller individual measurement areas. Also, as expected, moving to a granite base for the largest stage improves the repeatability of the measurement.
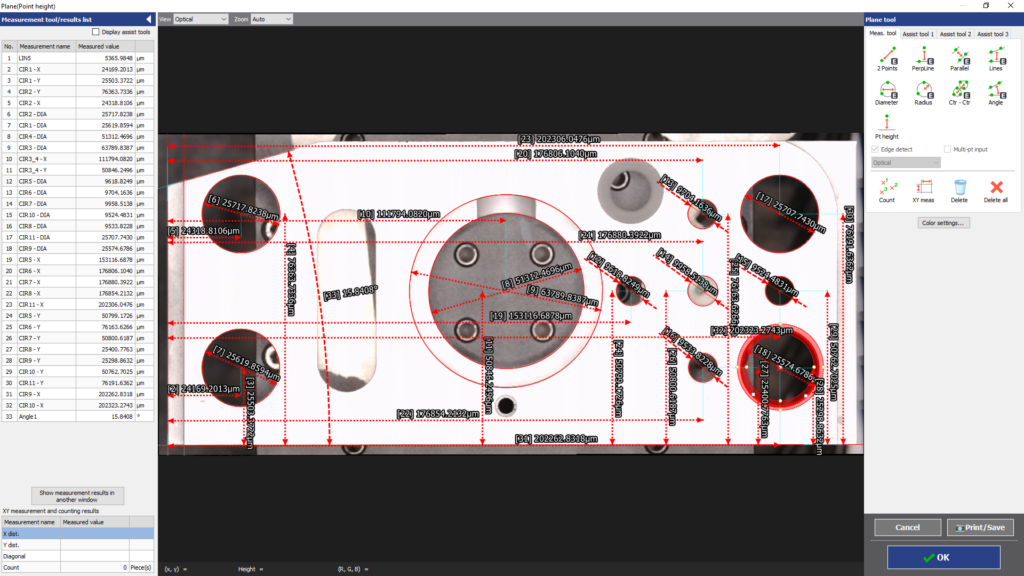
When using either the 300mm x 300mm XY stage or the 600mm x 600mm XY stage from Peak Metrology there is more repeatability in measurements requiring motorized stage motion. This is confirmed across 33 different features on a machined CMM standard. Ultimately, when using a Peak Metrology stage, the repeatability of the measurements improves between 2% – 11%.


Methodology
Three different motorized stages were compared.
- Keyence – 100mm XY stage (standard from Keyence)
- Peak Metrology – 300mm XY stage (standard from Peak)
- Peak Metrology – 600mm XY stage (standard from Peak)
The CMM artifact is significantly larger than an individual Field of View from the VR measurement head. Therefore, the motorized stages were used to move between Field of Views, and the VR software was used to stitch the individual measurement areas together.
The dimensional measurements were made using the same assist tool settings in the Keyence VR Analysis package across the 3 sets of XY stages.
Average repeatability was calculated by taking the largest measurement result and subtracting the smallest measurement result. This provides the worst-case range for the measurement data. For example, if we made measurements of 2.7, 2.2, 2.6, and 2.5 microns the Average Repeatability would be reported as 2.7-2.2 = 0.5 microns.
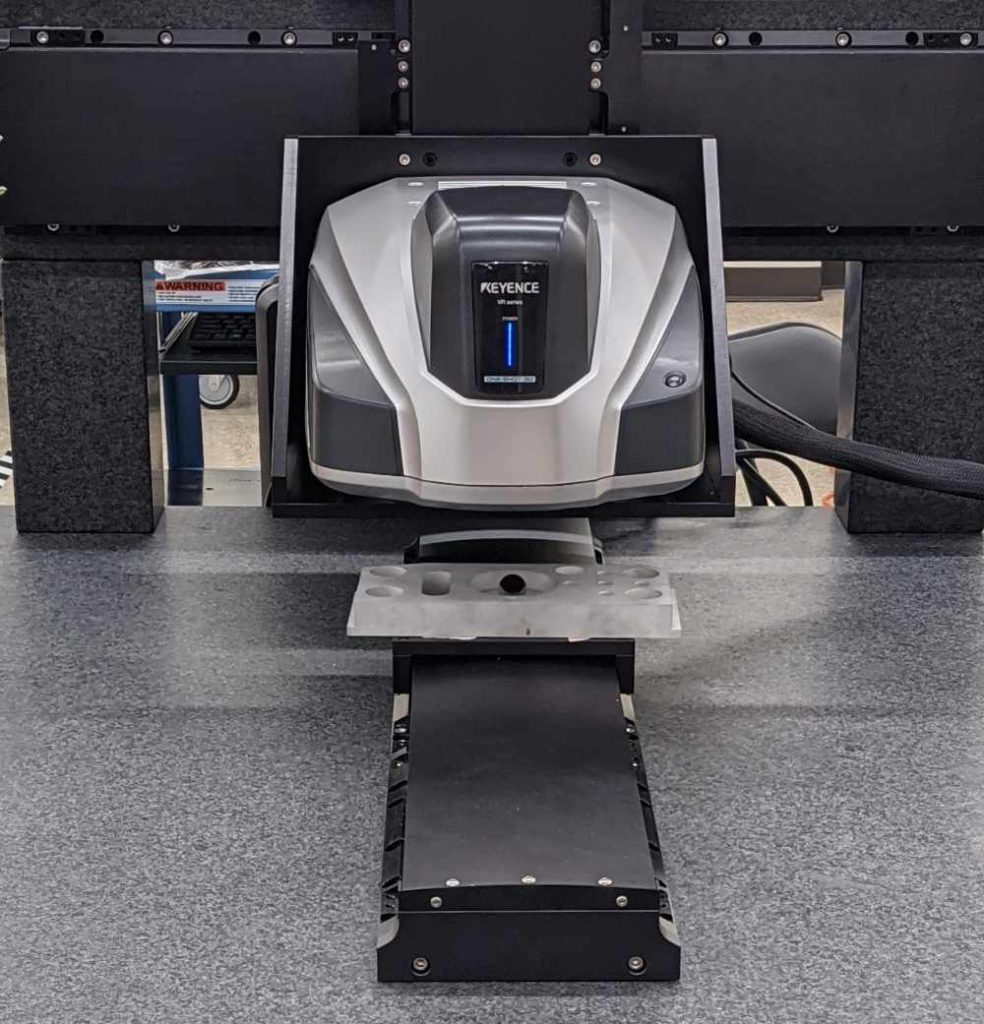
Below is the measurement setup on a Peak Metrology 600mm x 600mm XY stage.

For more guidance and consultation on selecting the right positioning system reach out to us.